How to take screenshots with the Snapsbrew API
You will need an active Snapsbrew account with API access. Generate a token from your account settings or start a free trial.
Introduction
Screenshots let you showcase a landing page, document UI changes, or power marketing assets without writing design files manually. With the Snapsbrew API you can trigger those screenshots on demand from workflows, cron jobs, or internal tools.
We will build a minimal request using fetch in JavaScript, but the same payload applies to any HTTP client.
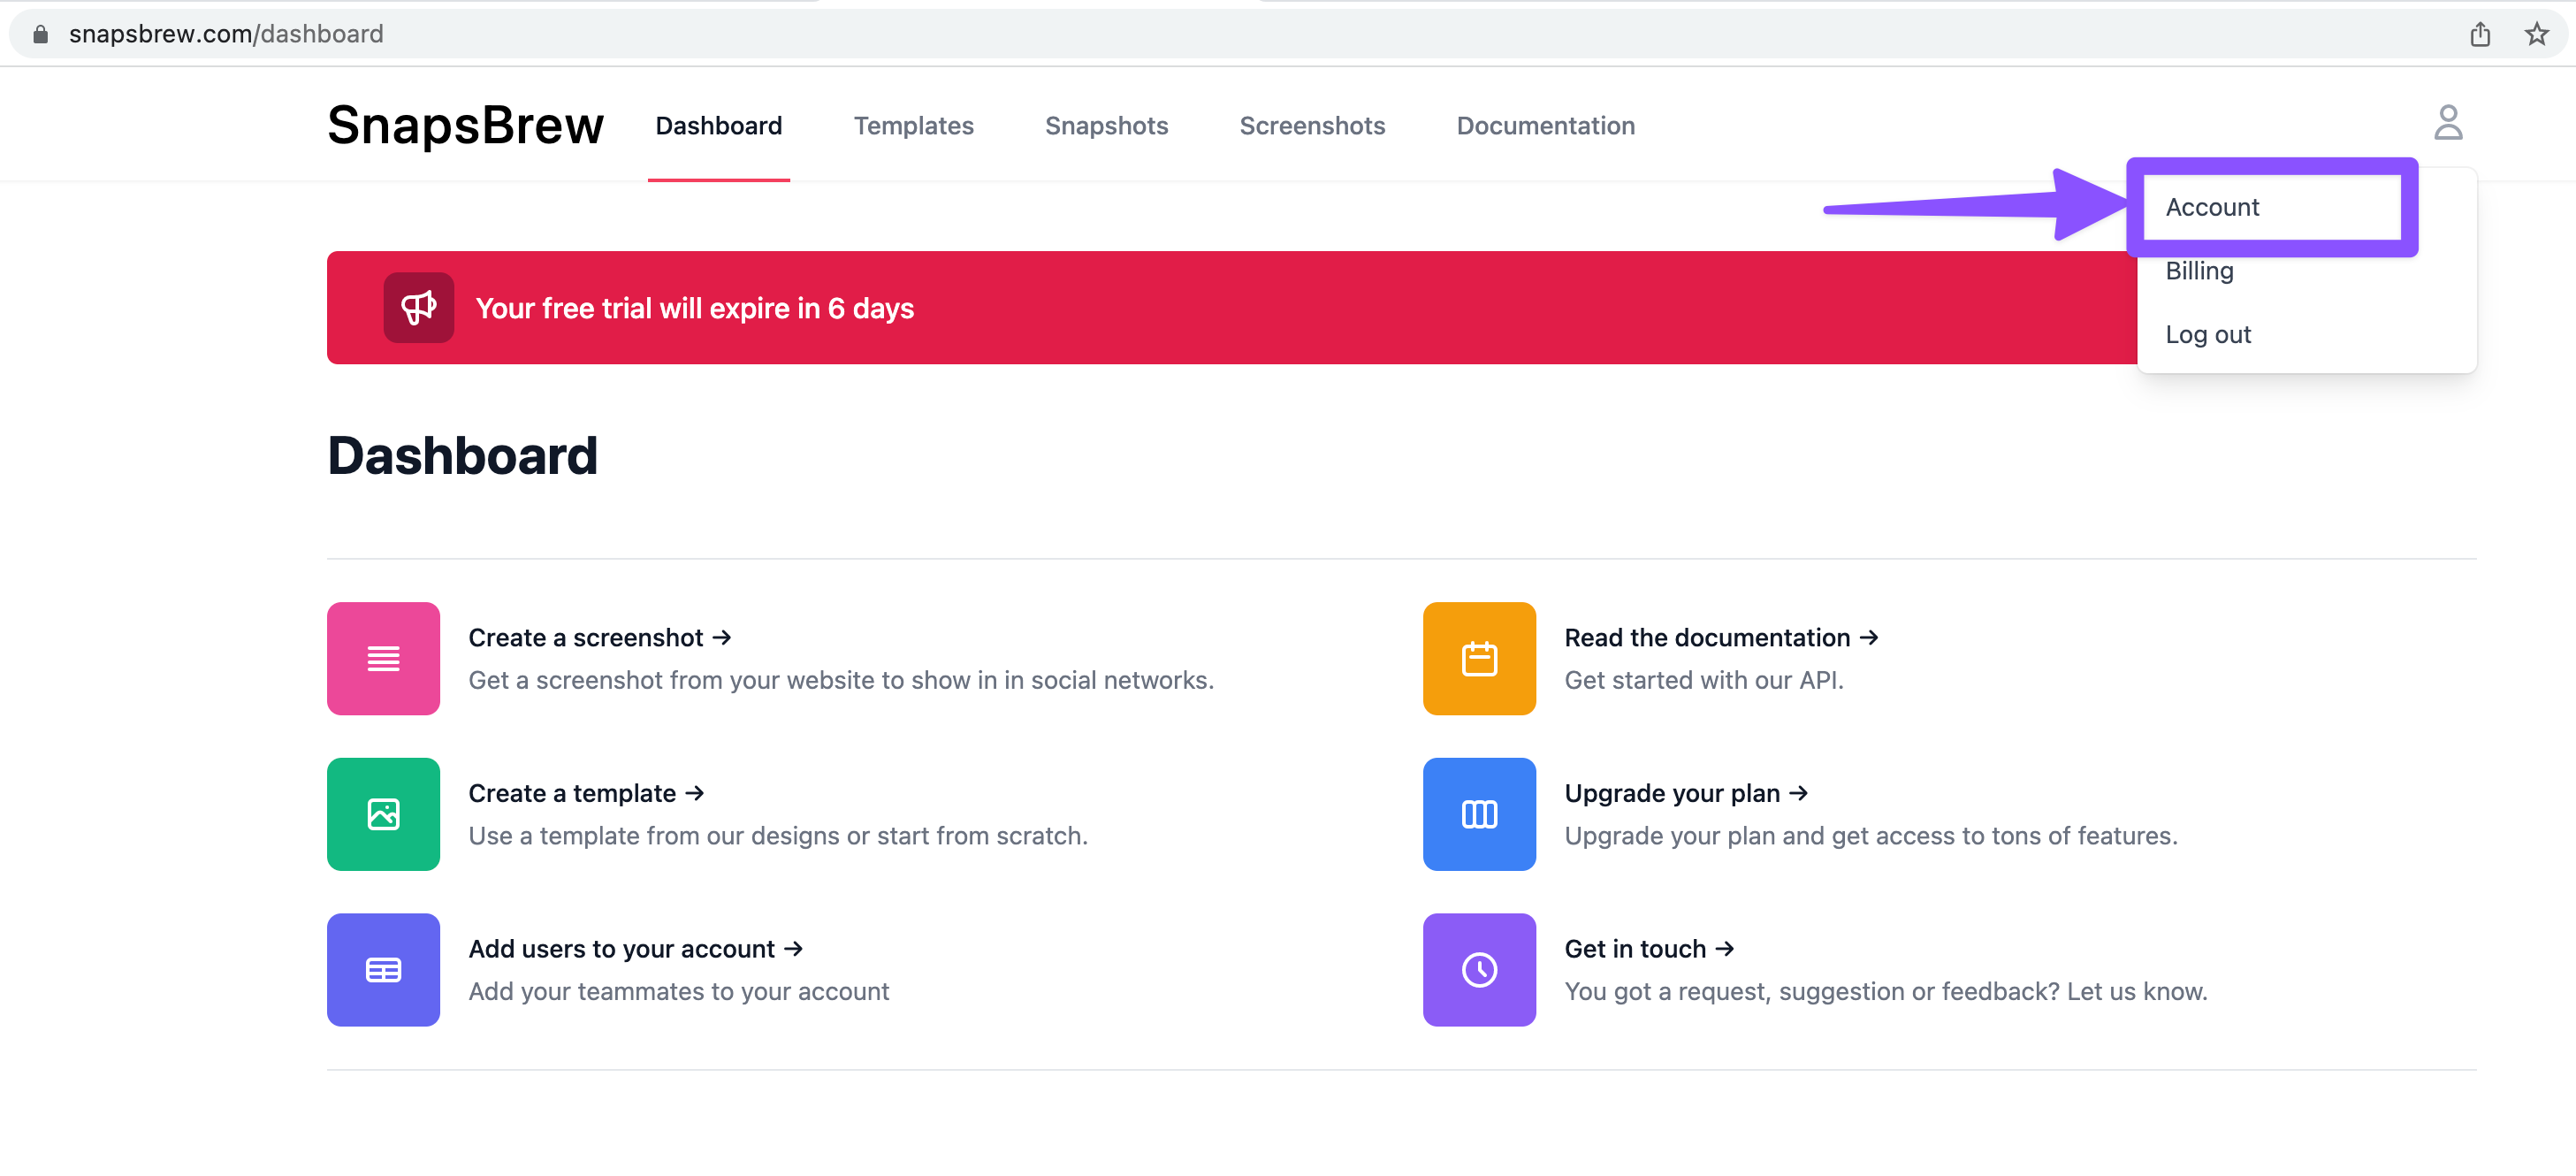
Get your API credentials
- Log into Snapsbrew and open Account → API tokens.
- Create a new token. Copy it immediately—tokens are only shown once.
- Store the token in a secure environment variable, for example
SNAPSBREW_TOKEN.
Compose the request
The Screenshot endpoint lives at POST https://snapsbrew.com/api/v1/snaps. At minimum you must send the URL you want to capture.
The API returns a payload containing the screenshot URL, request UUID, and metadata describing the job that ran behind the scenes.
Advanced options
Tune the capture by passing optional parameters:
widthandheight— set exact pixel dimensions (e.g.1200x630for social cards).full_page— capture the entire scrollable area by setting this flag totrue.device— emulate a device preset such as'iphone-14'or'macbook-pro'.wait_for— delay capture until a selector appears (handy for JavaScript-heavy pages).
Combine presets with custom dimensions to match any publication channel without rebuilding templates.
Handle the response
A successful response returns a JSON structure similar to:
Use file_url to download or display the screenshot. Store uuid in your logs so you can trace usage in the Snapsbrew dashboard later.
Automation ideas
- Release QA. Capture staging URLs on every deploy and share the images in Slack for quick reviews.
- Social promotion. Pair screenshots with a form so marketing can request assets without code.
- Documentation. Schedule nightly captures of your app to maintain an up-to-date reference gallery.
Need more parameters? Visit the Screenshot API reference for rate limits, headers, and advanced configuration.
launch your next campaign
Take your marketing a step forward
Automate the repetitive tasks a computer should be doing. Focus on the work only you can do.