How to generate a custom certificate for your students using Snapsbrew's API
To be able to successfully complete this guide you'll need to have an active Snapsbrew account, if you don't have one you can sign up for free right here
Introduction
Online education is currently one of the most affordable and easy ways to learn something, it can be a cohort, a video course or live sessions using Zoom or a similar app.
But what happens when the class is over? Your students will want a proof that they successfully completed your course. Of course you can go to Photoshop or any other photo editing software and, one by one, write each of your tens (or hundreds?) of students name and save it, one after the other. Seems daunting, right?
Why not automate these repetitive tasks and let a machine handle them for you? That's where Snapsbrew's comes to play. So, in the next lines I'll teach you how to chose a template from Snapsbrew's awesome templates library, how to tweak it to make it totally yours, and how to generate hundreds of totally custom certificates in just a couple of minutes using Snapsbrew's powerful API.
How to pick a template
If this is your first time logging in to your account you'll notice that it's pretty much empty, and there aren't any templates yet on your library, so I'll show you the step by step to create one template from scratch...🙃. I'm just kidding! Snapsbrew already has a bunch of templates that you can use for anything you need, you can tweak them and add layers to them, and– I'm getting too ahead of myself. Let's start by choosing a template for the templates library.

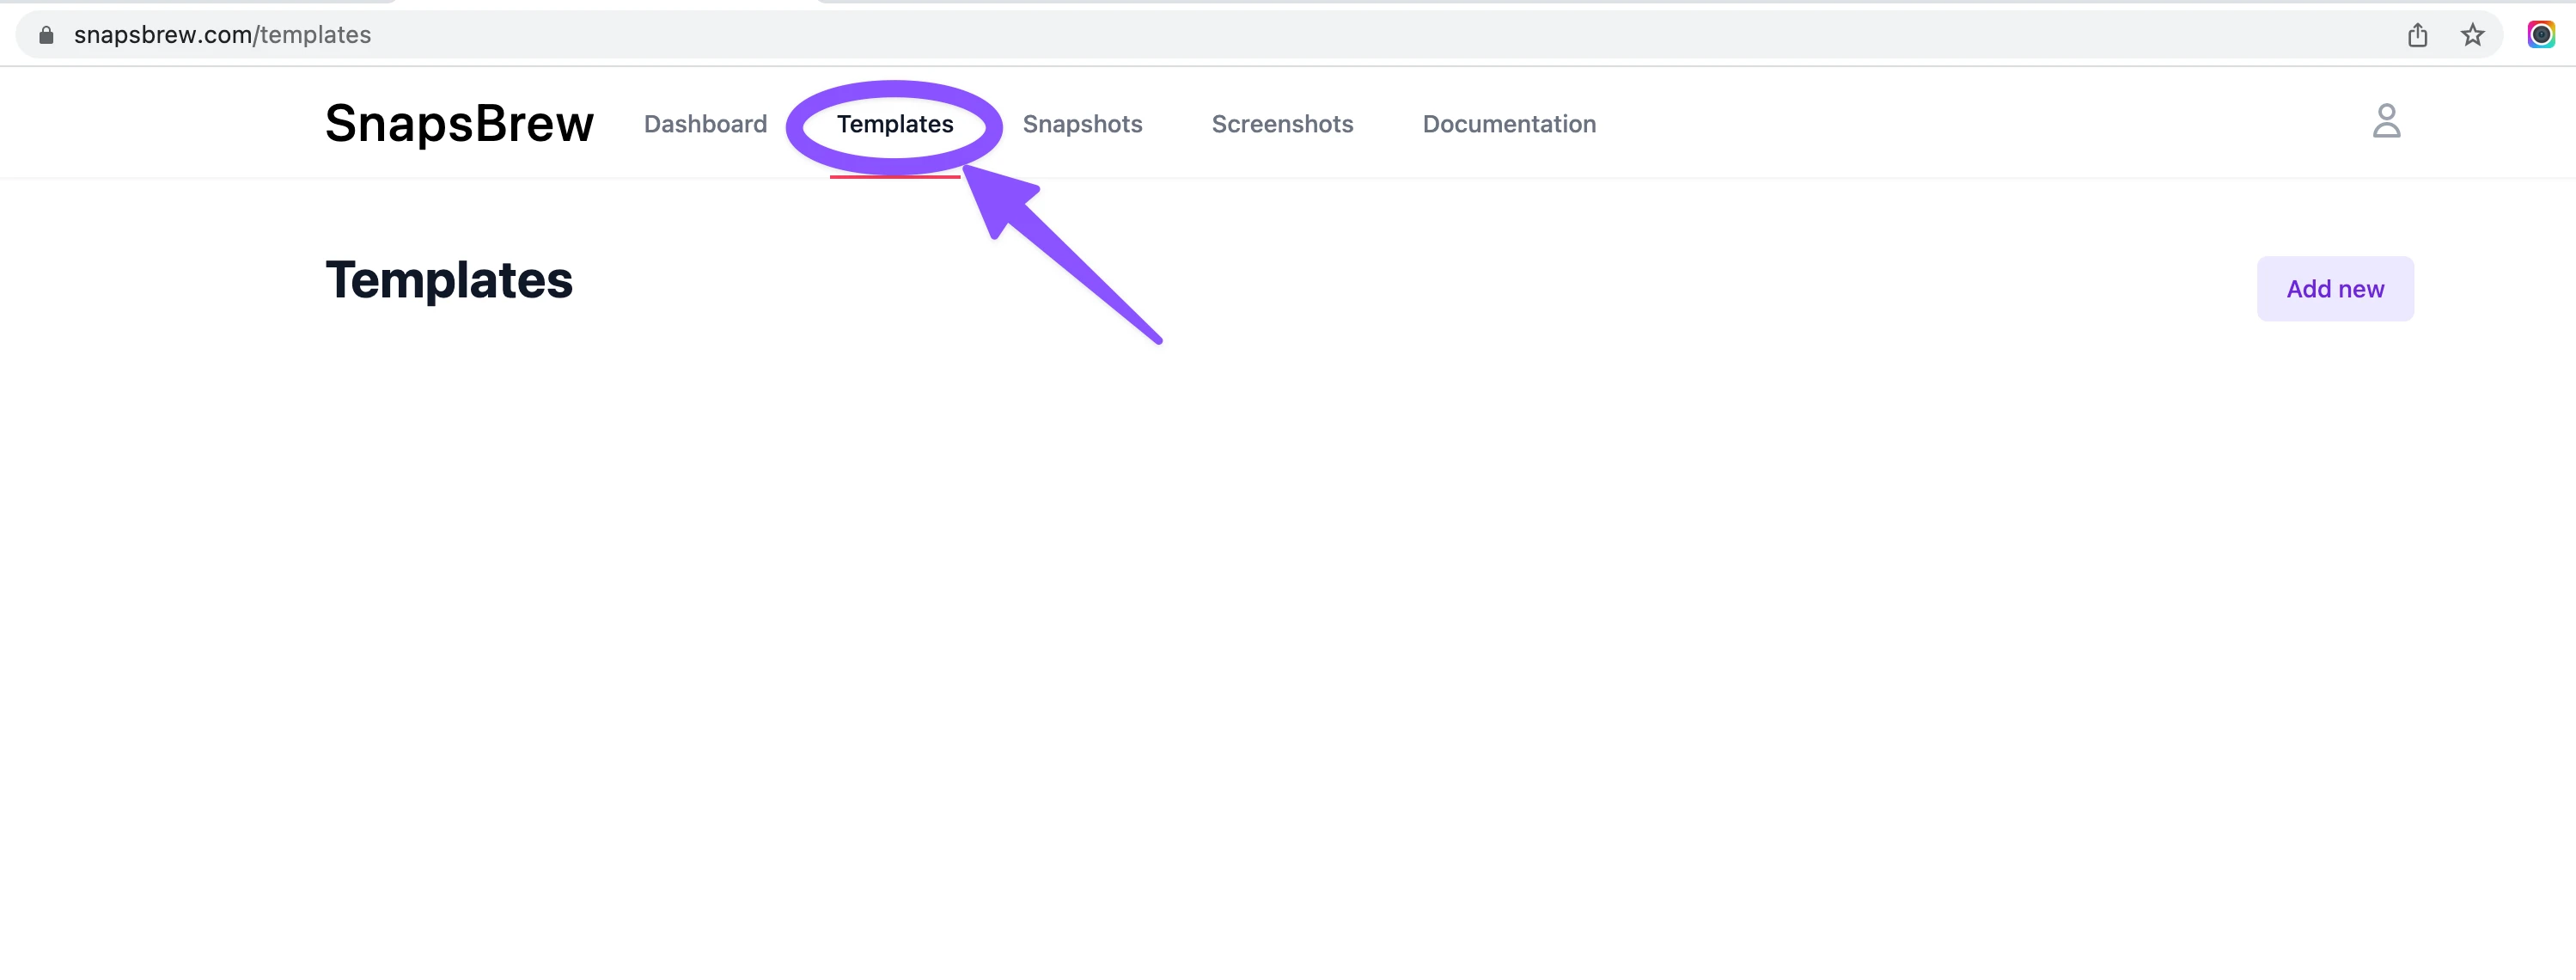
Ok, let's head to the Templates option in the topbar of the Dashboard. (or you can just click this link)
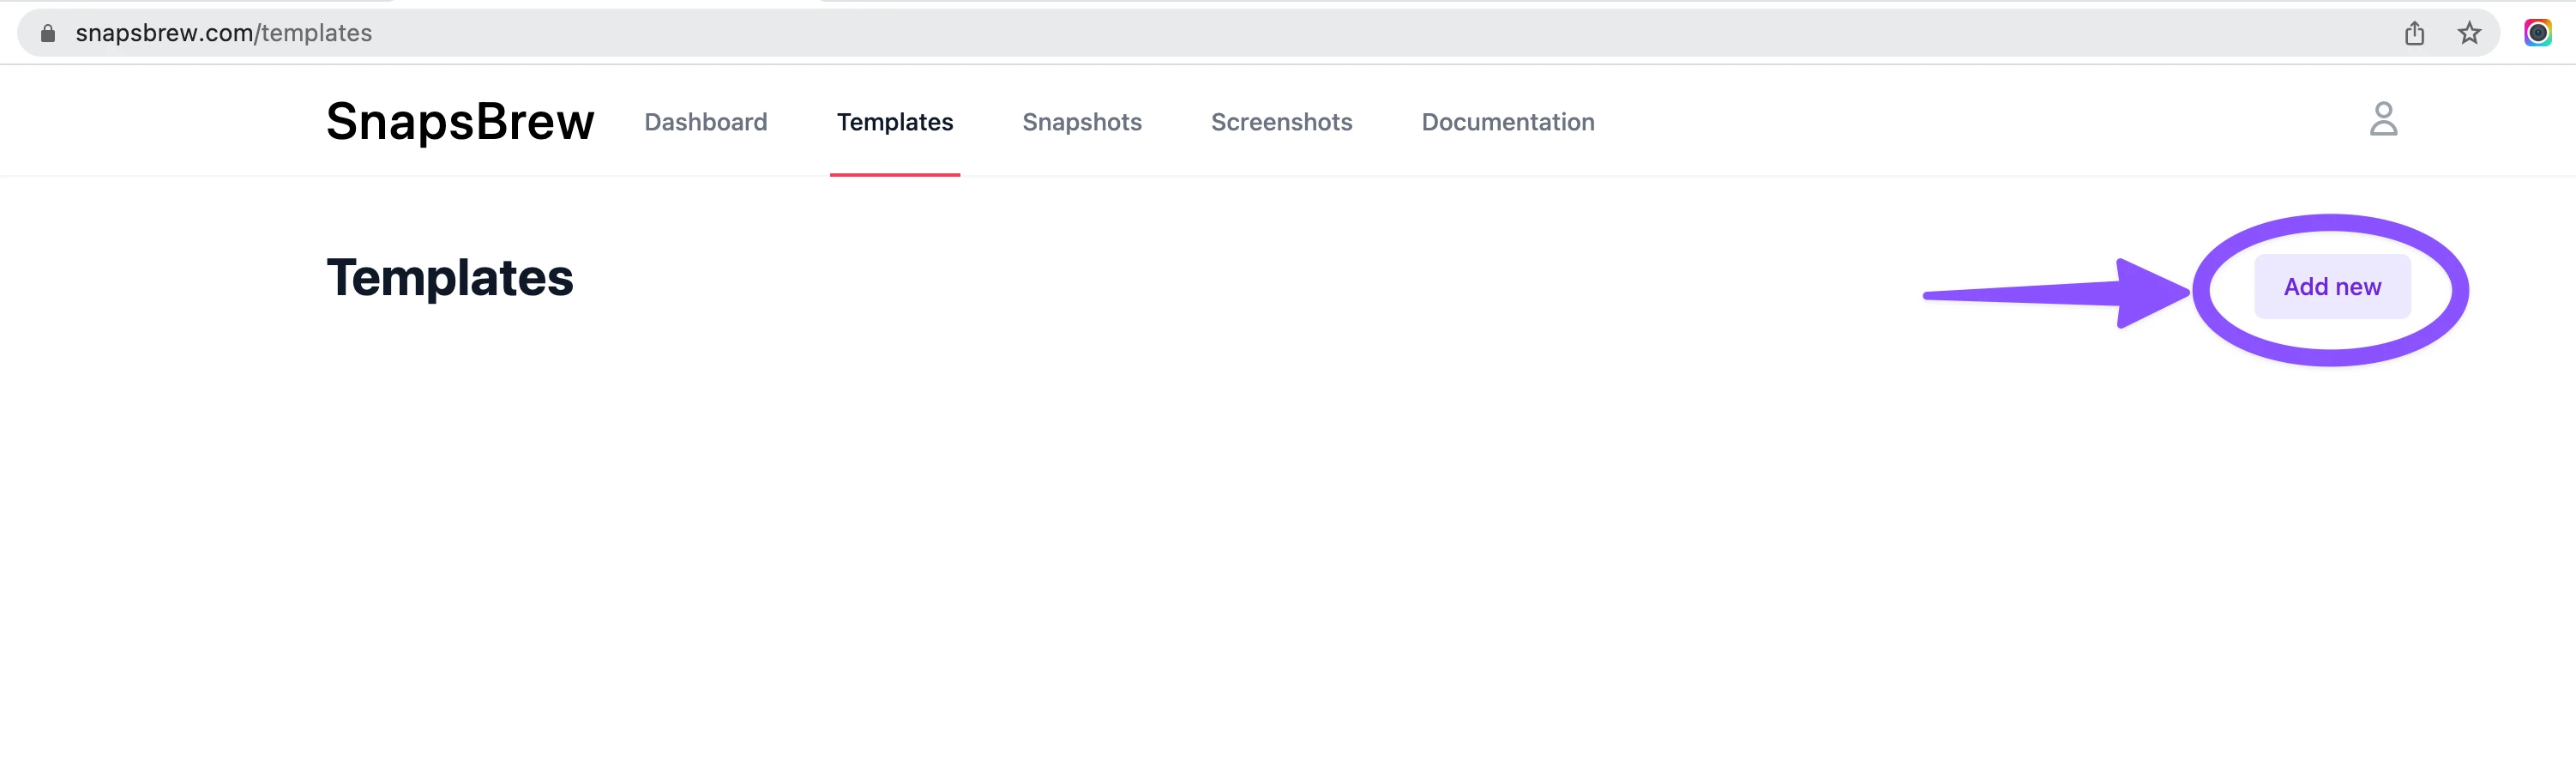
Now, let's click the Add new button
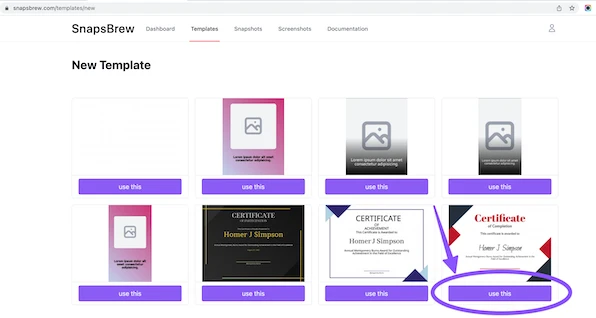
Feel free to pick any of the (soon to be) hundreds of templates that Snapsbrew has. 😅 Once you have decided on one of them just click the Use this button
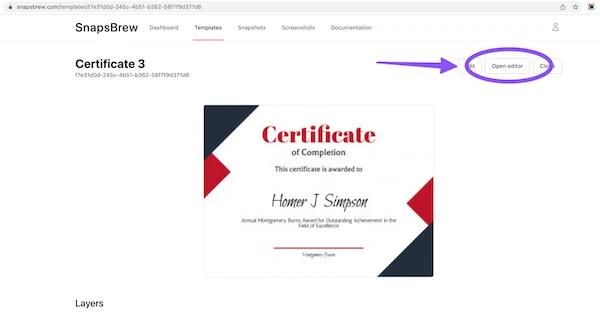
There you go a new template all yours. The template that you are seeing is an exact clone of the template you selected in the previous step. This means that any change that you make to this tempalte will only affect you. No other person will be affected by this changes, so feel free to change the font, change the colors, remove any forms you don't like. This template is all yours.And, now, let's take advantage of Snapsbrew's powerful editor and start tweaking the template.

How to tweak and update a template
So, this is where Snapsbrew really shines, at making Snapsbrew's designs your own. Click on the open editor button at the top right. This will take you to Snapsbrew's super powerpuff editor. There are a bunch of features that we won't worry about for the time being, but that you can explore later.
Behold Snapsbrew's template editor!. This little tool you can see here, is powerful enough to help you create a new template from scratch, or just tweak and existing one to match your company's message. In this short guide, we'll make some very small changes like changing the font of the Awarder and Awardee names, changing the color of the blue squares, and we'll change the paragraph that reads "This Certificate is Awarded to"
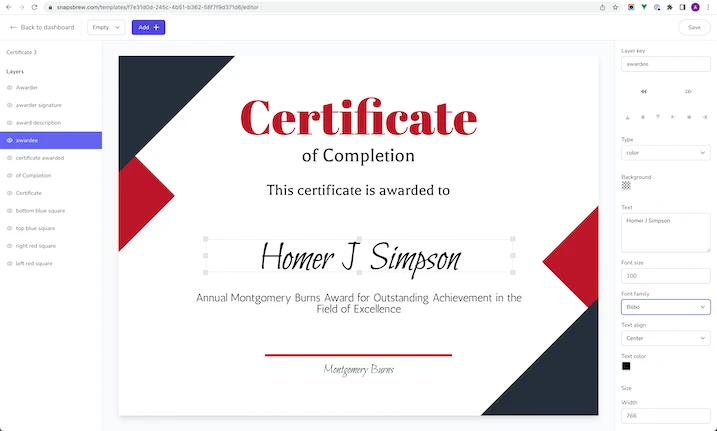
Ok, so first things first. At the left side of the screen you can see all the different layers this template owns. Each of these layers is either a text block, like "Certificate", or a geometric figure like the red square in the right side. To start modifying a layer all you have to do is click on it. You can also clone them, lock them, or hide them. But we don't need to to any of that right now. Let's click the layer called "certificate awarded", and you'll notice how the layer background becomes blue, and the text "This certificate is awarded to" gets a nice looking selection box.
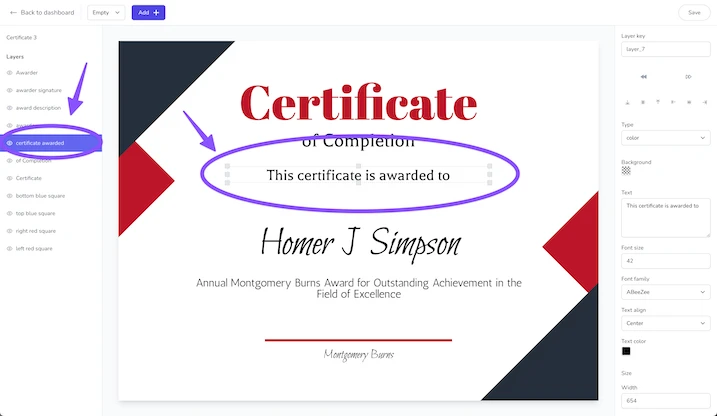
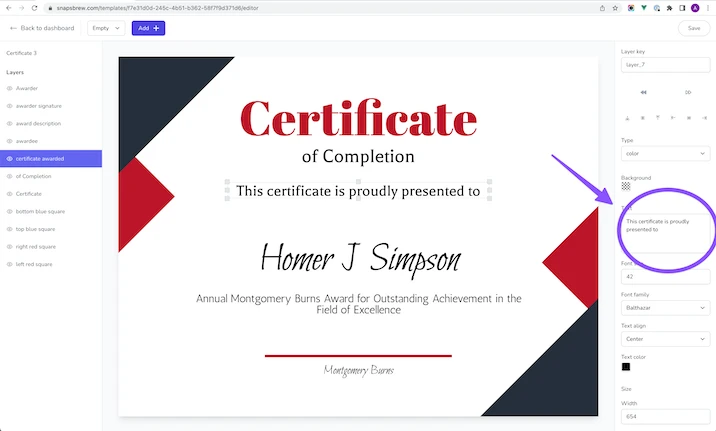
You will also notice that the right sidebar changed, and started showing up a bunch of different options, like the layer key at the very top, undo/redo buttons, alignment tools, and so much more. Let's look for the textarea with the text label and remove the text inside it, now copy and paste the following sentence "This certificate is proudly presented to", or just add any text you want. And, as soon as you click outisde the textarea you'll see how the text in the certificate changes. Just like magic.
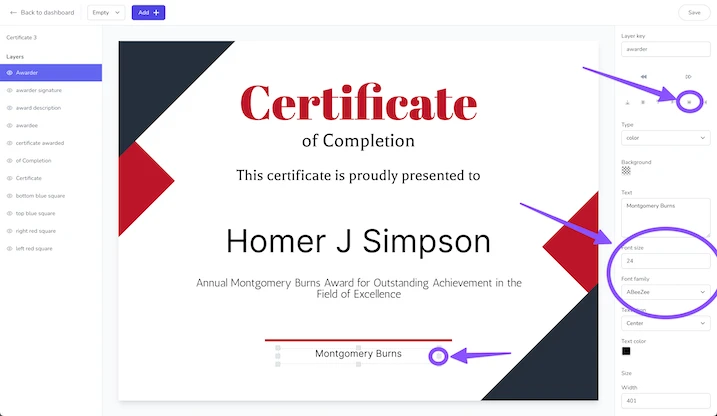
Now let's click the layer called "awardee", you'll notice how the "Homer J Simpson" text in the certificate gets a selection box, and the values on the right sidebar are changed. Now, look for Font family and let's pick Inter, notice how the font changes instantly. But something looks a little off, don't you think? Let's change the font size now, the input right above the font family select box, and select 80. Much better. Let's do the same to the layer called "awarder". Ok, this is off again, so let's drag one of the side grey squares, and make the selection box bigger, now click the align to the middle button in the top right.
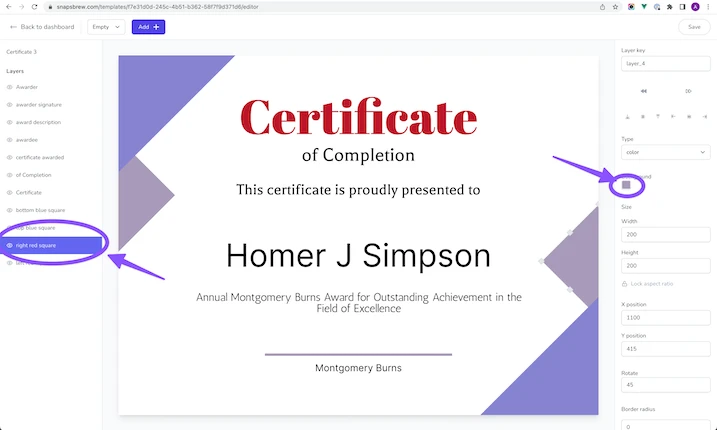
Now, let's change the colors in our certificate. Let's click the bottom layer on the left sidebar called "left red circle". In the right sidebar click the background color picker, and let's change the color to "#a99aba". Now, let's click the "left red square" layer and do the same. Let's also change the "awarder signature" layer to the same color, and lastly let's change the "bottom blue square", and "top blue square" to "#8783d1"
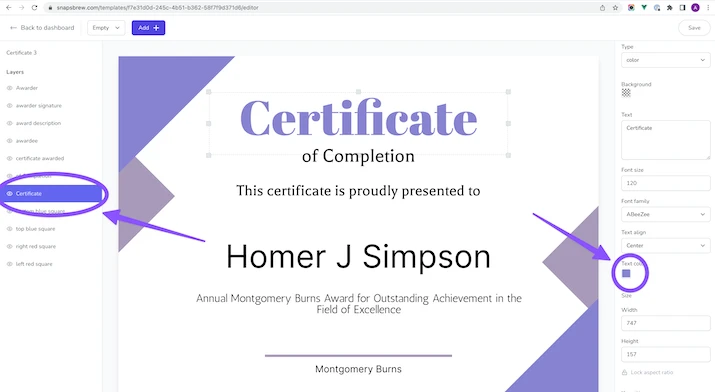
Lastly, let's change the text color of the big "Certificate" title at the top. Just like before, let's click the layer called "Certificate". Then look for the "Text color" color picker, and change it to "#8783d1"
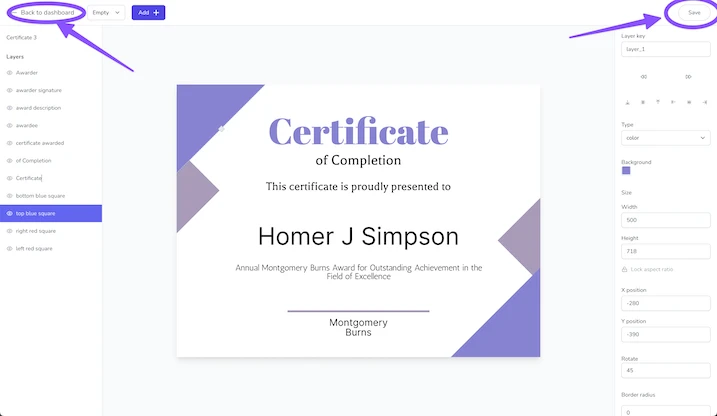
Now, there we have it, a new certificate just for your own use. Just don't forget clicking the "SAVE" button at the top right. And we can go back to the dashboard.
How to make an API call to Snapsbrew
We are getting there!, Now we are going to dive in making a request. For testing purposes we are going to use Javascript's Fetch API, to make the request to Snapsbrew's API. But before doing so, let's head to our Snapsbrew dashboard and grab all the necessary data before going to our favorite code editor.
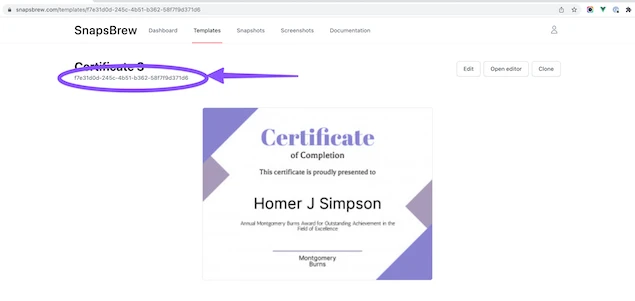
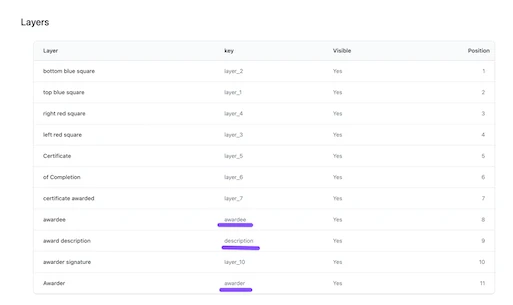
Click on your template preview in your Dashboard and you will be redirected to an overview of your template. In this page you can see your certificate name, a sd preview of your certificate you can see a table with all the layers that make your template, but most importantly you can see your template UUID. This is the code we use to let Snapsbrew know when we want to create a new Image (or PDF) using this template.
Now, regarding the layers. The layers also have a unique key that we can use to customize the content of your certificate. We don't want that every Certificate reads "Homer J Simpson", do we? So, using these unique keys we can change the content of each layer, and that's what we are going to do. We are going to change the Awardee name, the awarder name, and the description of the certificate, and nice enough, those keys are already set in your certificate.
With this information ready, let's start by storing the API url, the API token, and the template UUID in constants.
Now, let's talk about the payload we are going to send. Snapsbrew API will take three keys on the request body template_uuid, type, and layers. As you can already imagine, the template_uuid is the same uuid we copied from the template screen. The type, is the type of snap you want to take, it can be either an image or a pdf. And lastly the layers array, it's the list of layers we'll modify. These layers, are what allows you to customize the template, and generate a different certificate with each API request. So the request body will look something like this:
Before moving forward, let's take a deep look to the layers key. It is an array of objects, and each of these objects has two keys. layer, which is the key from the layer that we mentioned above. And, modifications, modifications is an object, with a key pair of modifications we want to apply to each layer. For the current use case we'll only change the text of the layers, but in other scenarios you can change the font color, the size, the background color, and so on.
So, at the end our request will end up like this:
To learn more about the different possibilites this endpoint provides, make sure to head to the Snaps documentation.
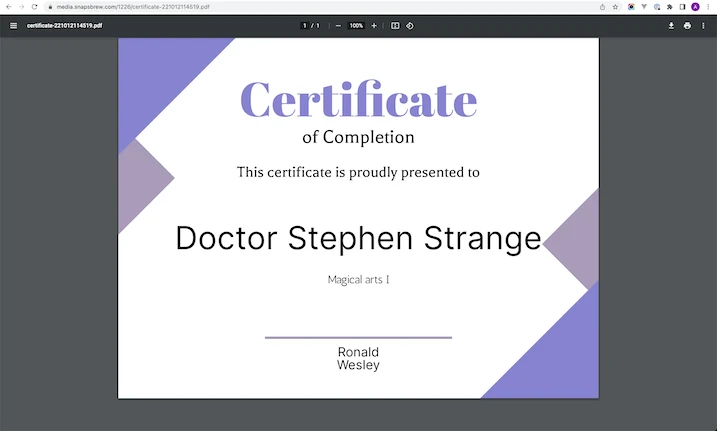
And,there you go! A completely customized certificate for your students. 🥳 🎊
Final thoughts
That's pretty much it. All you need to do is pick a certificate from Snapsbrew's templates library, tweak it just a little bit to have your brand colors, font, and overal styling, and just call the API whenever you need to generate a new certificate.
Ok, so this was a guide way longer than I expected, it's the first guide I ever wrote, after all. So if you have any issues, concerns or things just don't work, feel free to reach me at [email protected], and I will do everything in my power to help you.
Other resources
If you just don't really need to generate tens of certificates constantly, make sure you check out Snapsbrew's Certificate Creator tool. Iy's completely free, a little limited compared to having an account, but really does the job.
launch your next campaign
Take your marketing a step forward
Automate the repetitive tasks a computer should be doing. Focus on the work only you can do.