How to resize templates in Snapsbrew
You will need access to the template editor. If you do not have an account yet, start your free trial here.
Introduction
Every channel asks for a different canvas size. Instagram Stories need vertical art, Twitter cards love horizontal compositions, and PDF exports usually guard pixels differently. Instead of recreating artwork from scratch, Snapsbrew lets you resize an existing template in a few clicks while keeping layers editable.
In this guide we will resize a template, review how presets work, and apply precise width and height values when you need something bespoke.
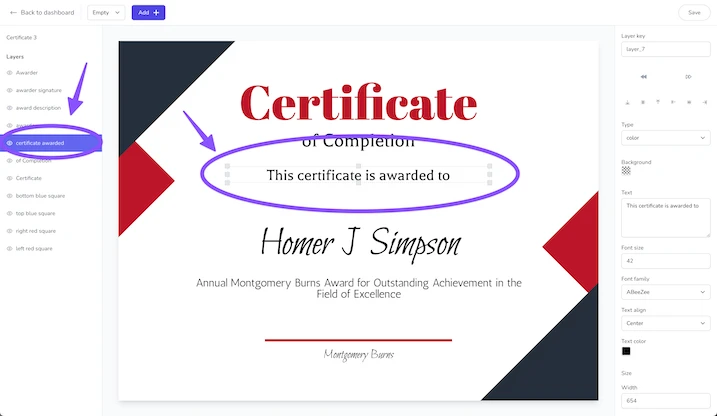
Check your current template size
Begin by opening your template. The header displays the active size next to the template title (for example, Instagram Post (1080x1350)). This value helps you decide whether to switch to a preset or enter a custom width/height.
If you are working from the template library, duplicate an existing design first so you can experiment without affecting the original asset.
Use a size preset
- Click the template settings panel on the right-hand side of the editor.
- Select Size and choose from the available presets (Instagram Story, Instagram Post, Twitter Card, Facebook Card, etc.).
- Confirm the change. Snapsbrew automatically updates the canvas and scales your layers proportionally.
Presets mirror the Template::DEFAULT_SIZES list, so you can trust they match each platform’s current recommendations.

Set custom dimensions
Need a print-ready poster or a landing-page hero? Switch to a custom size:
- Open the same Size section.
- Choose Custom.
- Enter width and height in pixels. If you plan to export a PDF, use the exact aspect ratio required by your printer.
- Click Apply to update the canvas.
Snapsbrew keeps your layers intact. You may need to reposition text or imagery if the aspect ratio changed dramatically—use smart guides to keep things aligned.
Resizing best practices
- Duplicate before resizing. Keep an original version so you can roll back quickly.
- Review layer anchors. Background images and full-width shapes scale nicely, but badges or logos may need manual adjustments.
- Update safe margins. For social posts, ensure critical copy stays inside the recommended safe area so it is not cropped by the platform.
- Refresh previews. Use Generate preview to review your resized design before sharing it with the team.
Next steps
Once your template is sized correctly you can generate assets individually or connect it to a form to let teammates submit copy safely. Pair resized templates with a collection to reuse the same style across campaigns.
Ready for automation? Continue with our guide on creating forms so stakeholders can request new variants without entering the editor.